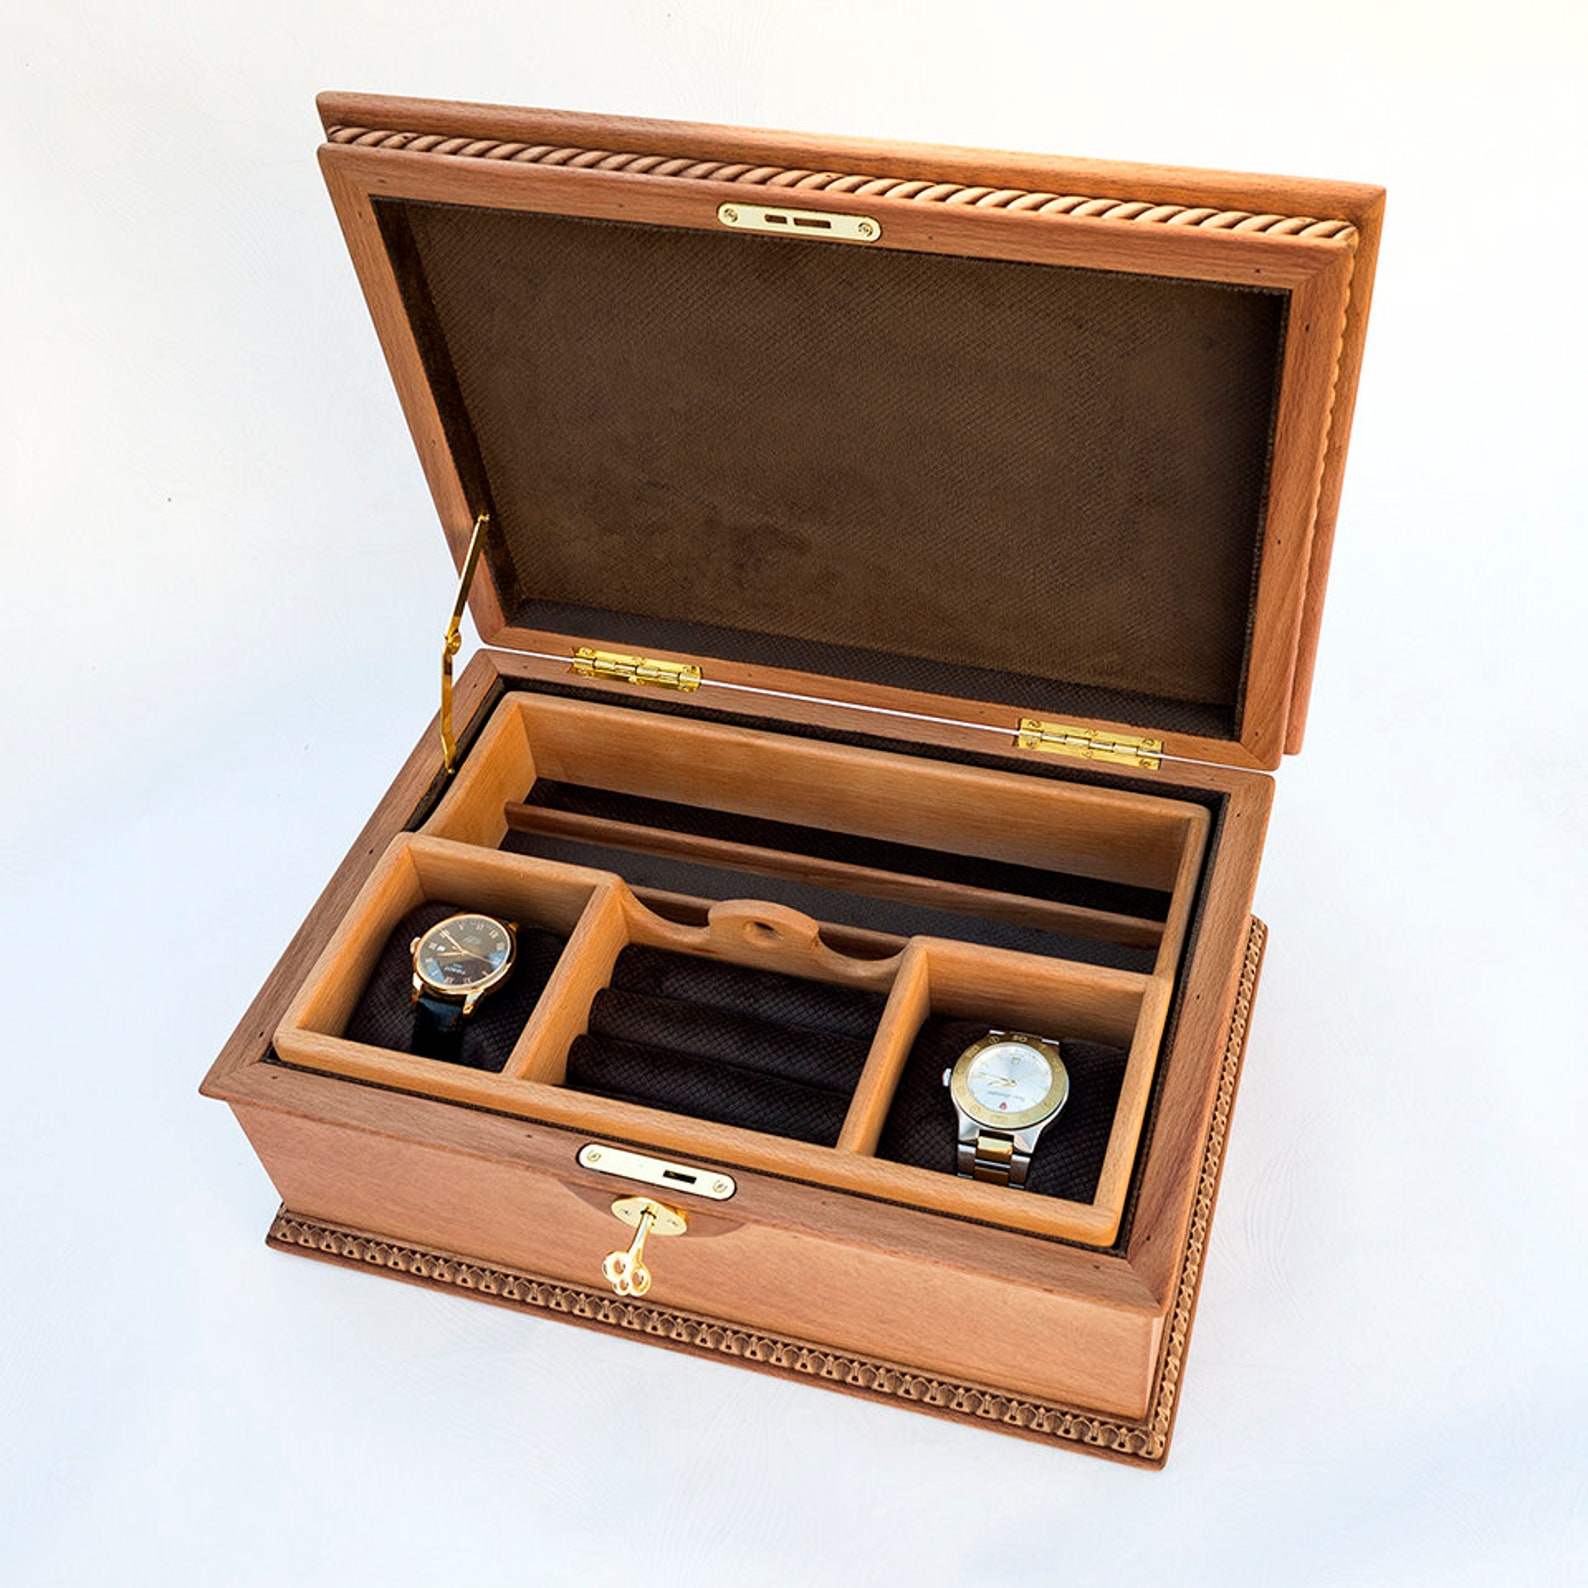
Men's Jewelry Box: A Masculine and Functional Woodworking Project
For the discerning gentleman, a jewelry box isn't just a place to store valuables; it's a reflection of his style and sophistication. Crafting a bespoke jewelry box from wood offers a unique and personal touch, allowing you to tailor the design to your specific needs and aesthetic preferences. This article will guide you through the process of creating a masculine and functional jewelry box, perfect for storing watches, cufflinks, rings, and other treasured items.
Choosing the Right Wood
The choice of wood is paramount in setting the tone of your jewelry box. For a masculine and robust look, consider hardwoods like:
- Walnut: Known for its rich, dark brown color and striking grain patterns, walnut exudes a sense of elegance and warmth.
- Cherry: Possessing a reddish-brown hue that deepens with age, cherry adds a touch of classic sophistication.
- Mahogany: A luxurious choice with a deep reddish-brown color, mahogany creates a timeless and sophisticated feel.
- Oak: Sturdy and durable, oak boasts a distinctive grain pattern and comes in a variety of shades, from light to dark.
For a more contemporary style, consider using lighter woods like maple or ash. These woods can be stained to achieve a desired color and finish.
Design Considerations
Before diving into construction, carefully consider the design elements that will make your jewelry box both practical and aesthetically pleasing. Here are some key aspects to ponder:
Size and Shape
Determine the appropriate size for your collection and the available space where the box will be placed. A rectangular shape is a classic choice, but you can explore other options like a circular or octagonal design for a unique touch.
Compartments and Drawers
Consider the specific items you'll be storing and design compartments and drawers accordingly. For watches, you might include a padded tray or individual slots. For cufflinks and rings, small compartments or trays with felt lining will protect them from scratches.
Lid and Hinges
Choose a lid design that complements the overall style of the box. Consider adding a decorative inlay or carving. Use sturdy hinges that can withstand repeated opening and closing.
Hardware and Finishing Touches
Select hardware that complements the wood and design aesthetic. You can opt for simple brass or nickel hardware for a classic look, or explore more modern options like chrome or black metal. Consider adding a felt lining to the interior of the box for a luxurious touch and to protect your belongings.
Construction Process
Once you've finalized the design, you can begin construction. Here's a step-by-step guide to building your men's jewelry box:
Cutting and Shaping the Wood
Using a saw, cut the wood pieces to the desired dimensions. Carefully measure and mark the wood to ensure precise cuts. If you're creating a complex shape, use a jigsaw or band saw to achieve the desired contours.
Joining the Pieces
Join the wood pieces using a variety of methods, including:
- Dovetail Joints: These traditional joints are strong and aesthetically pleasing, adding a touch of craftsmanship to the box.
- Mortise and Tenon Joints: These strong joints are suitable for constructing drawers and other internal components.
- Glue and Dowel Pins: These methods offer simplicity and strength, suitable for basic box construction.
Creating Compartments and Drawers
If you're incorporating compartments or drawers, construct them separately and then fit them into the main box structure. Use dovetail joints or rabbets to create sturdy and secure compartments.
Adding the Lid
Attach the lid to the box using sturdy hinges. Use screws or nails to secure the hinges, ensuring they are positioned evenly and securely. Consider using a piano hinge for a more elegant and smooth opening action.
Finishing and Refinishing
Once the box is assembled, you can apply a finish to enhance the appearance of the wood and protect it from wear and tear. Here are some common finishing techniques:
- Sanding: Start with coarse sandpaper to remove any rough edges and then gradually move to finer grits for a smooth finish. This will create a uniform surface for applying the finish.
- Staining: Stain the wood to achieve a desired color. Use a brush or rag to apply the stain evenly and let it dry completely before proceeding to the next step.
- Varnishing or Polyurethane: Apply a clear finish like varnish or polyurethane to protect the wood and enhance its natural beauty. Apply multiple thin coats for optimal durability.
- Waxing: Waxing provides a protective layer and adds a sheen to the wood. Use a soft cloth to apply the wax in thin layers and allow it to dry completely.
Adding Hardware and Interior Lining
Attach the hardware to the box and compartments. Use a screwdriver or drill to secure the hardware in place. Finally, line the interior of the box with felt or velvet for a luxurious touch and to protect your valuables.
Customization and Personalization
The beauty of crafting your own jewelry box lies in the ability to personalize it to your preferences. Consider these ideas to add a unique touch:
- Engraving: Add a personalized touch with an engraved inscription on the lid or a plaque.
- Inlay: Create a decorative inlay by inserting pieces of contrasting wood or other materials into the surface of the box.
- Carving: Carve intricate designs or patterns into the wood to add visual interest.
- Unique Shapes: Experiment with non-traditional shapes like a curved or rounded box for a modern and distinctive look.
Conclusion
Creating a men's jewelry box from wood is a rewarding project that combines craftsmanship, creativity, and personalization. By carefully selecting the right wood, considering your specific needs, and executing the construction process with precision, you can craft a functional and aesthetically pleasing piece that you'll cherish for years to come. Remember, the process itself is as enjoyable as the final product, allowing you to express your individuality and create a truly bespoke treasure.
No comments:
Post a Comment