Quick Woodworking Projects to Kickstart Your Skills
Hey there, wood-loving friend! So you're itching to get your hands dirty and build something amazing, but the thought of a full-blown woodworking project feels overwhelming. Don't worry, we've all been there. That's why we're here to help you kickstart your skills with a few quick and easy projects that'll have you feeling like a woodworking pro in no time.
These projects are perfect for beginners, requiring minimal tools and time, but they'll give you a solid foundation in basic woodworking techniques. Plus, they're super satisfying to complete! So grab your saw, hammer, and a good attitude, and let's dive in.
Easy and Satisfying: Projects You Can Tackle Today
We're starting with a bunch of simple projects that can be tackled in a single afternoon. Think of them as the perfect way to get your feet wet and test the waters of woodworking.
1. Coasters: A Beginner’s Delight
Let's start with something small and practical: coasters! These little beauties are perfect for showcasing your woodworking skills without demanding too much time or effort.
- Materials: You'll need scrap wood, sandpaper, wood glue, and a finish of your choice (like varnish or polyurethane).
- Tools: A saw, a drill with a 1/4-inch bit, and a sanding block.
First, cut your wood into squares or circles. Then, sand the edges smooth and apply a coat of finish. That's it! You now have a set of personalized coasters that'll protect your furniture from those pesky condensation rings.
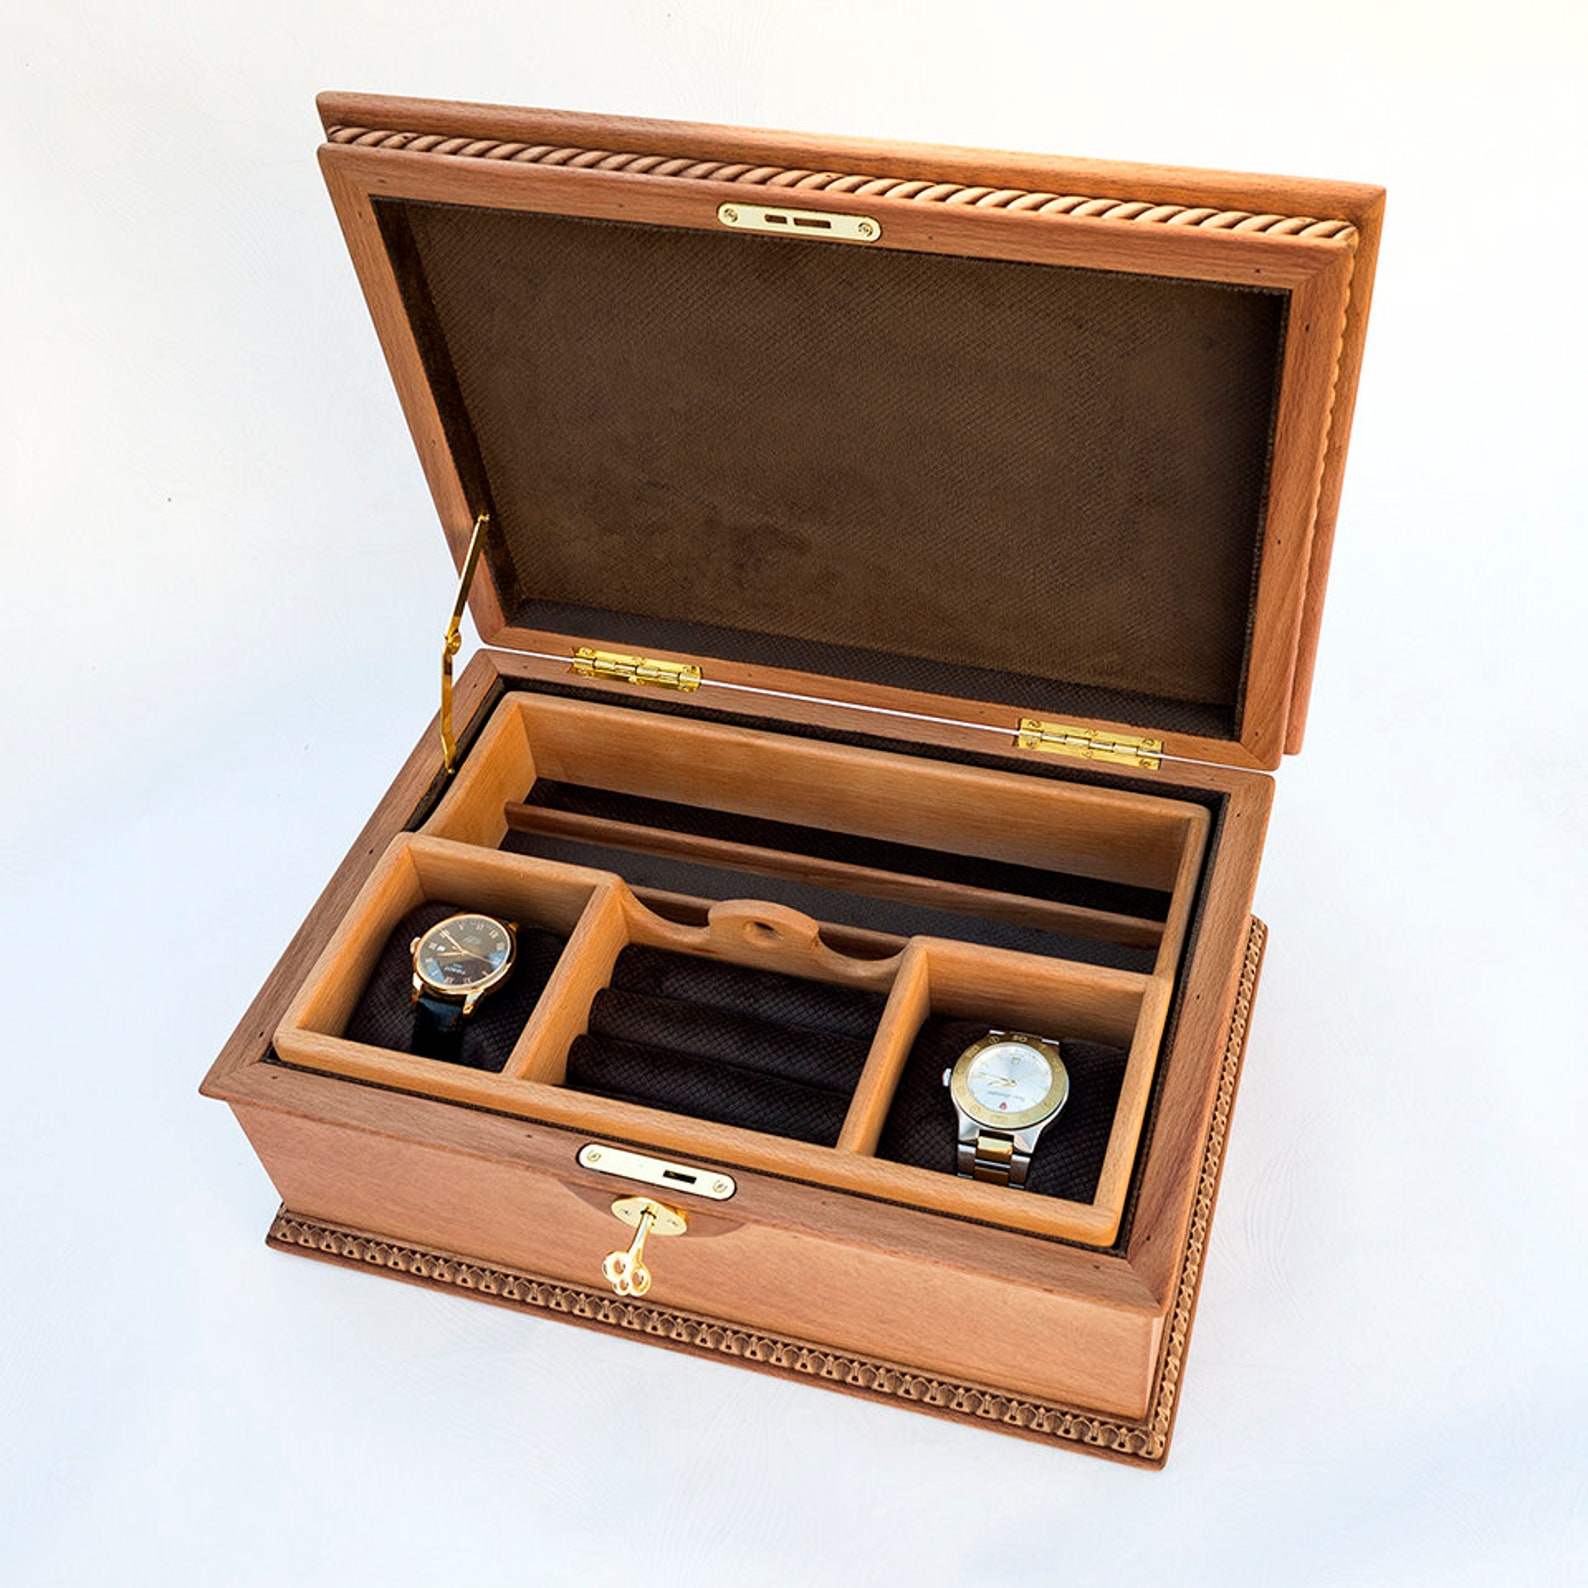
2. Simple Wooden Boxes: A Touch of Elegance
Wooden boxes can be used for everything from storing jewelry to organizing your desk. They're surprisingly easy to make, and the result will look fantastic on your shelf.
- Materials: You'll need a few pieces of wood (think plywood or pine), a ruler, a pencil, a saw, a drill, a screwdriver, hinges, and a finish.
- Tools: You'll need a saw to cut the wood to size, a drill to make holes for the hinges, and a screwdriver to attach the hinges.
The key here is precise measurements and clean cuts. Cut your wood into rectangles, drill holes for the hinges, and attach them securely. Then, add a lid and a finish â€" you've now created a beautiful, handmade box!
3. Rustic Wall Shelves: Add Some Charm to Your Home
Looking to create a cozy corner in your home? Rustic wall shelves are a fantastic way to add character and display your favorite trinkets.
- Materials: You'll need a few wooden boards, brackets (or you can make your own!), screws, and a stain or finish.
- Tools: A saw, a drill, a screwdriver, and a measuring tape.
Cut the wooden boards to your desired length and width, and attach them to the wall using brackets. Then, stain or finish the shelves to create a rustic, weathered look. Voila! You've got a beautiful and practical addition to your home.
Boost Your Skills: Projects That Take It Up a Notch
Now that you've conquered the basics, let's move on to projects that will challenge you a bit more and help you develop your woodworking skills. Don't worry; they're still totally doable for beginners, and the satisfaction of completing them will be even greater.
4. Wooden Picture Frames: A Personal Touch
Want to give your favorite photos a special touch? Building your own picture frames is a rewarding project that lets you express your creativity.
- Materials: You'll need wood strips (think oak or walnut), a miter saw, glue, and a finish.
- Tools: A miter saw (or a handsaw if you're feeling extra patient!), a pencil, a ruler, and a sanding block.
The key here is making accurate miter cuts â€" that's where the miter saw comes in handy! Cut the wood strips at 45-degree angles, then glue them together to form a frame. Once the glue dries, sand the edges and apply a finish. Now you've got a custom frame that's ready to showcase your memories.
5. Cutting Boards: A Kitchen Essential
Cutting boards are essential for any kitchen, and making your own allows you to choose the perfect wood and design. It's a great project for learning how to use different joinery techniques.
- Materials: You'll need a piece of hardwood (like maple or walnut), a router, a table saw, and a finish.
- Tools: A table saw, a router, a sander, and a measuring tape.
This project will challenge you with cutting accurate pieces, using a router to round the edges, and joining the pieces together. But the satisfaction of creating a beautiful and functional cutting board is well worth the effort!
6. Simple Birdhouses: Attract Feathered Friends
Birdhouses are a fun and rewarding project that combines woodworking with a touch of nature. They're also relatively simple to make, especially if you follow a pre-designed plan.
- Materials: You'll need plywood or cedar boards, a saw, screws, and a finish.
- Tools: A saw, a drill, a screwdriver, a measuring tape, and a sander.
Choose a birdhouse design that you like, and cut the pieces to size. Then, use screws or glue to assemble the birdhouse. Make sure to leave a small opening for the birds to enter, and you're all set! You'll be happy to see those feathered friends moving in.
Beyond the Basics: Projects for the Adventurous
If you're ready to take your woodworking skills to the next level, here are some projects that will really challenge you and expand your knowledge of woodworking techniques.
7. Wooden Storage Bench: A Practical and Stylish Addition
Storage benches are a perfect combination of form and function. They provide seating and storage space, making them a versatile addition to any room.
- Materials: You'll need plywood, lumber, screws, hinges, and a finish.
- Tools: A saw, a drill, a sander, a screwdriver, and a measuring tape.
This project involves more complex cuts and joins, but it's a great way to learn about constructing furniture. You'll need to create a sturdy frame, add a seat, and incorporate storage compartments. Don't be afraid to experiment with different designs and styles!
8. Coffee Table: Elevate Your Living Room
Building a coffee table is a major woodworking project, but it's an incredibly rewarding one. You'll create a statement piece for your living room that you can be proud of.
- Materials: You'll need lumber, plywood, screws, glue, and a finish.
- Tools: A saw, a drill, a sander, a router, a screwdriver, and a measuring tape.
This project involves creating a sturdy frame, adding a tabletop, and perhaps incorporating drawers or shelves. You'll learn about different woodworking techniques, such as mortise and tenon joints or dovetail joints. The possibilities are endless, and the design is entirely up to you!
Tips for Success: Mastering the Craft
Here are a few tips to help you make the most of your woodworking journey:
- Start small and simple: Don't get overwhelmed by complex projects. Begin with small and manageable projects to build confidence and develop your skills.
- Practice makes perfect: Woodworking is all about practice. Don't be afraid to make mistakes; they're a natural part of the learning process.
- Seek inspiration: Look for inspiration in woodworking books, magazines, or online tutorials. There's a whole world of ideas out there, waiting for you to discover them!
- Don't be afraid to ask for help: If you're stuck or unsure about a technique, reach out to a more experienced woodworker. There's always someone who's happy to share their knowledge and help you succeed.
- Most importantly, have fun! Woodworking is a creative and rewarding hobby. Enjoy the process and let your imagination run wild.
So there you have it â€" a guide to quick and easy woodworking projects that will help you kickstart your skills and create beautiful and functional pieces for your home or to give as gifts. Remember, the key is to start small, practice consistently, and most importantly, have fun! Happy woodworking!


:max_bytes(150000):strip_icc()/howto-specialist-gazebo-582f32f95f9b58d5b1ae2174.png)


